As promised, here is my full tutorial for the cake I made last week.

Supplies

- Lifestyle Crafts Nesting Circles (L-CC-001)
- Lifestyle Crafts Nesting Scallops (L-CC-005)
- Lifestyle Crafts Blossoms (DC0073)
- Bazzill Bling October cardstock
- Bazzill Bling Flat Broke cardstock
- Bazzill Bling Glass Slipper cardstock
- Sparkly gems
Step 1

Cut out in the Flat Broke Cardstock
- two 5” circles
- two 4” circles
- two 3” circles
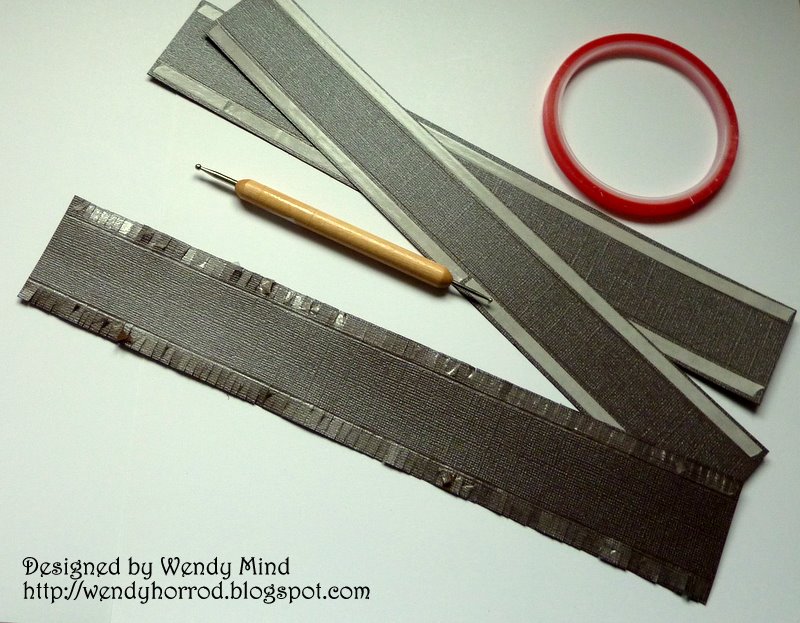
- 3 strips in the following sizes, (12” x 2”) , ( 12” x 1 and 7/8”) and (12” x 1 and 6/8”)
Cut out in the October Cardstock
- Approx 25 of the smallest blossom
- One of the 2nd smallest blossom
- One of the 3rd smallest blossom
Cut out in the Glass Slipper cardstock
- One 5” scallop
- 2 pieces of 12” x 1cm strips
Step 2

- On each of the 3 12” card strips score 1cm down ach side
- Stick double sided tape on both edges of each of the 3 strips (it is important to do this before you start fringing the cardstock
- Trim at small intervals on each edge of all 3 strips so you have a ‘fringed’ look
Step 3

- Start to attach the strips to each of the circles by bending the card round to fit. The widest width strip will be for the largest circle etc etc.
Step 4

- Once you have attached the card strips to the bottom circle, the top circle will fit on nicely
Step 5

- Once all 3 layers of the cake have been put together attach them on top of each other with glue and then attach to the scallop.
- Attach the Glass slipper strips of card around the bottom of each layer of the cake.
Step 6
- To finish pinch each of the petals of the small blossoms, attach them to the cake and add a sparkly gem.
- To make the flower on the top of the cake, layer 3 of the smallest blossoms on top of each other and then adhere to the cake.
Lifestyle Crafts products avaialble from:
Creating Everlasting Memories